Raspberry Pi adventure day part 2 - creating & transferring my site
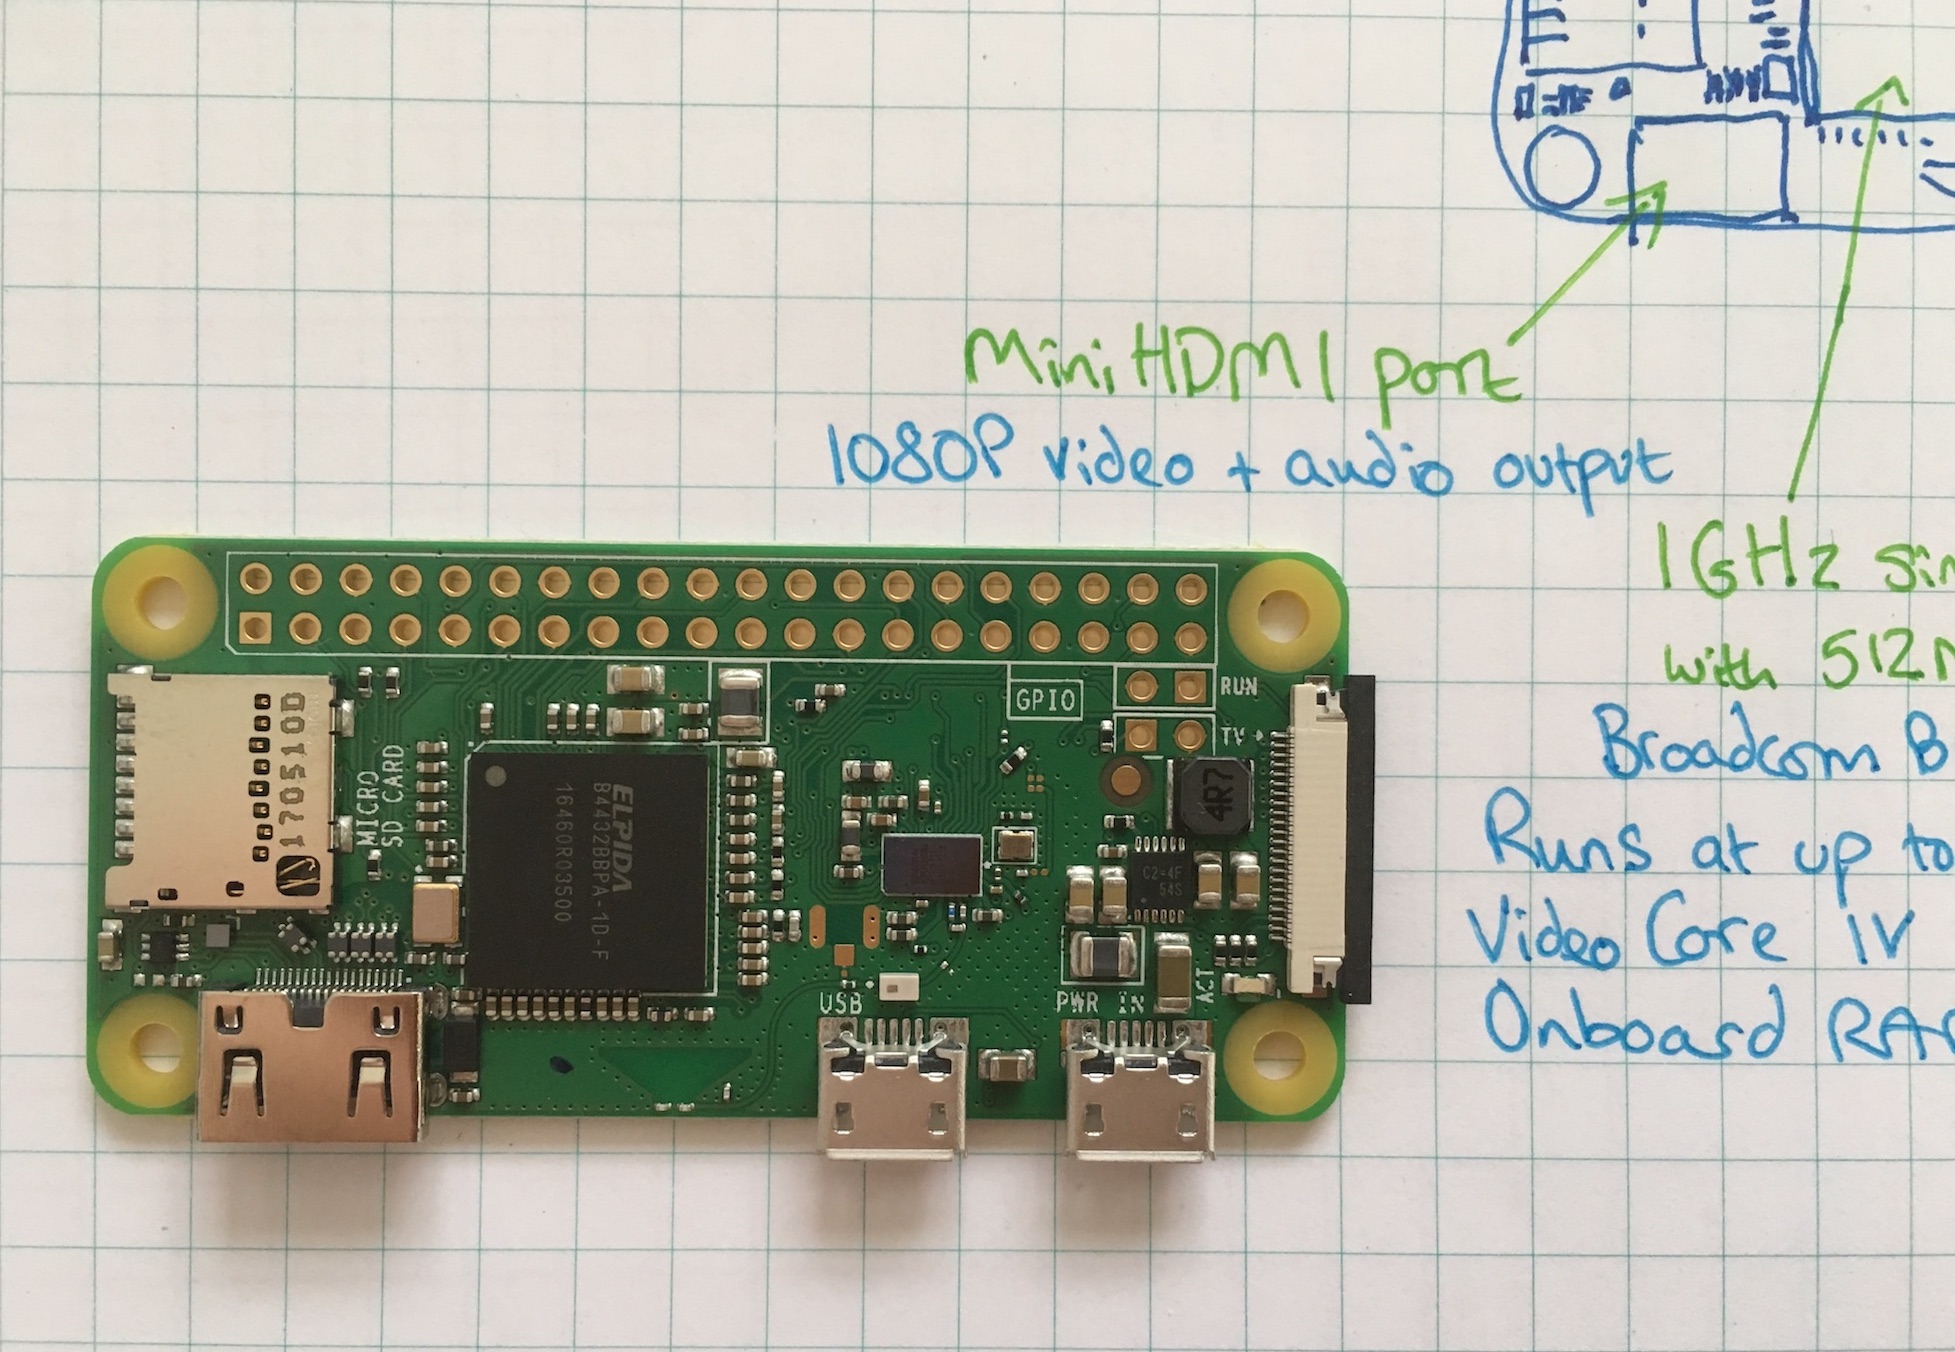
Last week I got a gift in the post. I love getting post, regardless of how underwhelming the content but this was extremely exciting - I opened this jiffy to find a Raspberry Pi Zero!
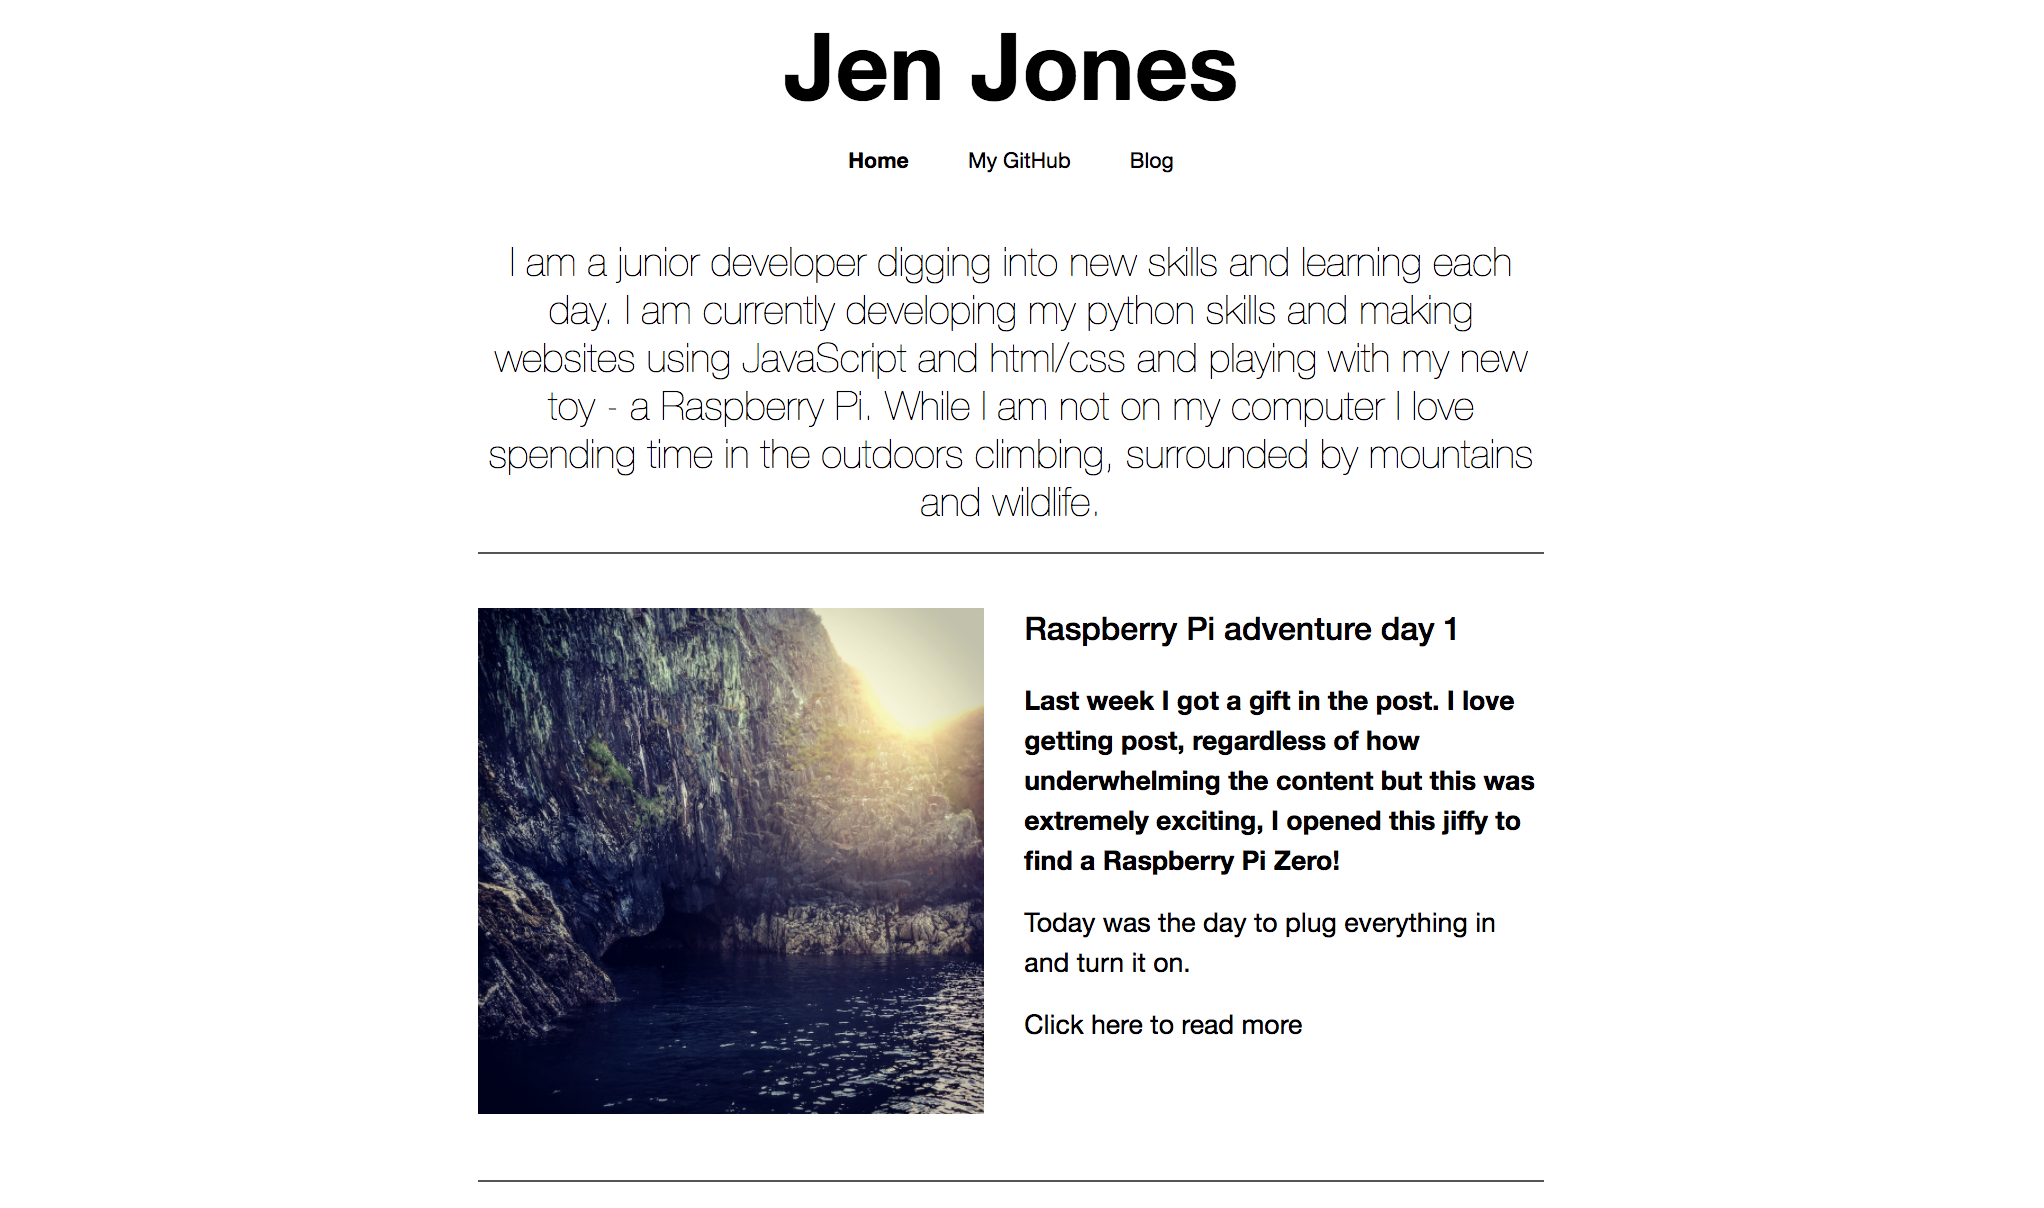
In part 2 I describe how I used Jekyll to produce HTML and CSS files from my GitHub Pages markdown files and then transferred the files onto the Raspberry Pi to view my website.
Preparing my site with Jekyll
The site I wanted to use for this project was built using GitHub Pages and is made up of HTML, CSS and markdown language. GitHub Pages uses Jekyll to automatically convert any markdown on into HTML and without this Jekyll conversion the site would not display properly. So I had two choices with my files: 1 - I could convert the markdown to HTML myself; or 2 - Use Jekyll directly to do what it does on GitHub Pages i.e. create HTML pages from any markdown language. I chose option 2.
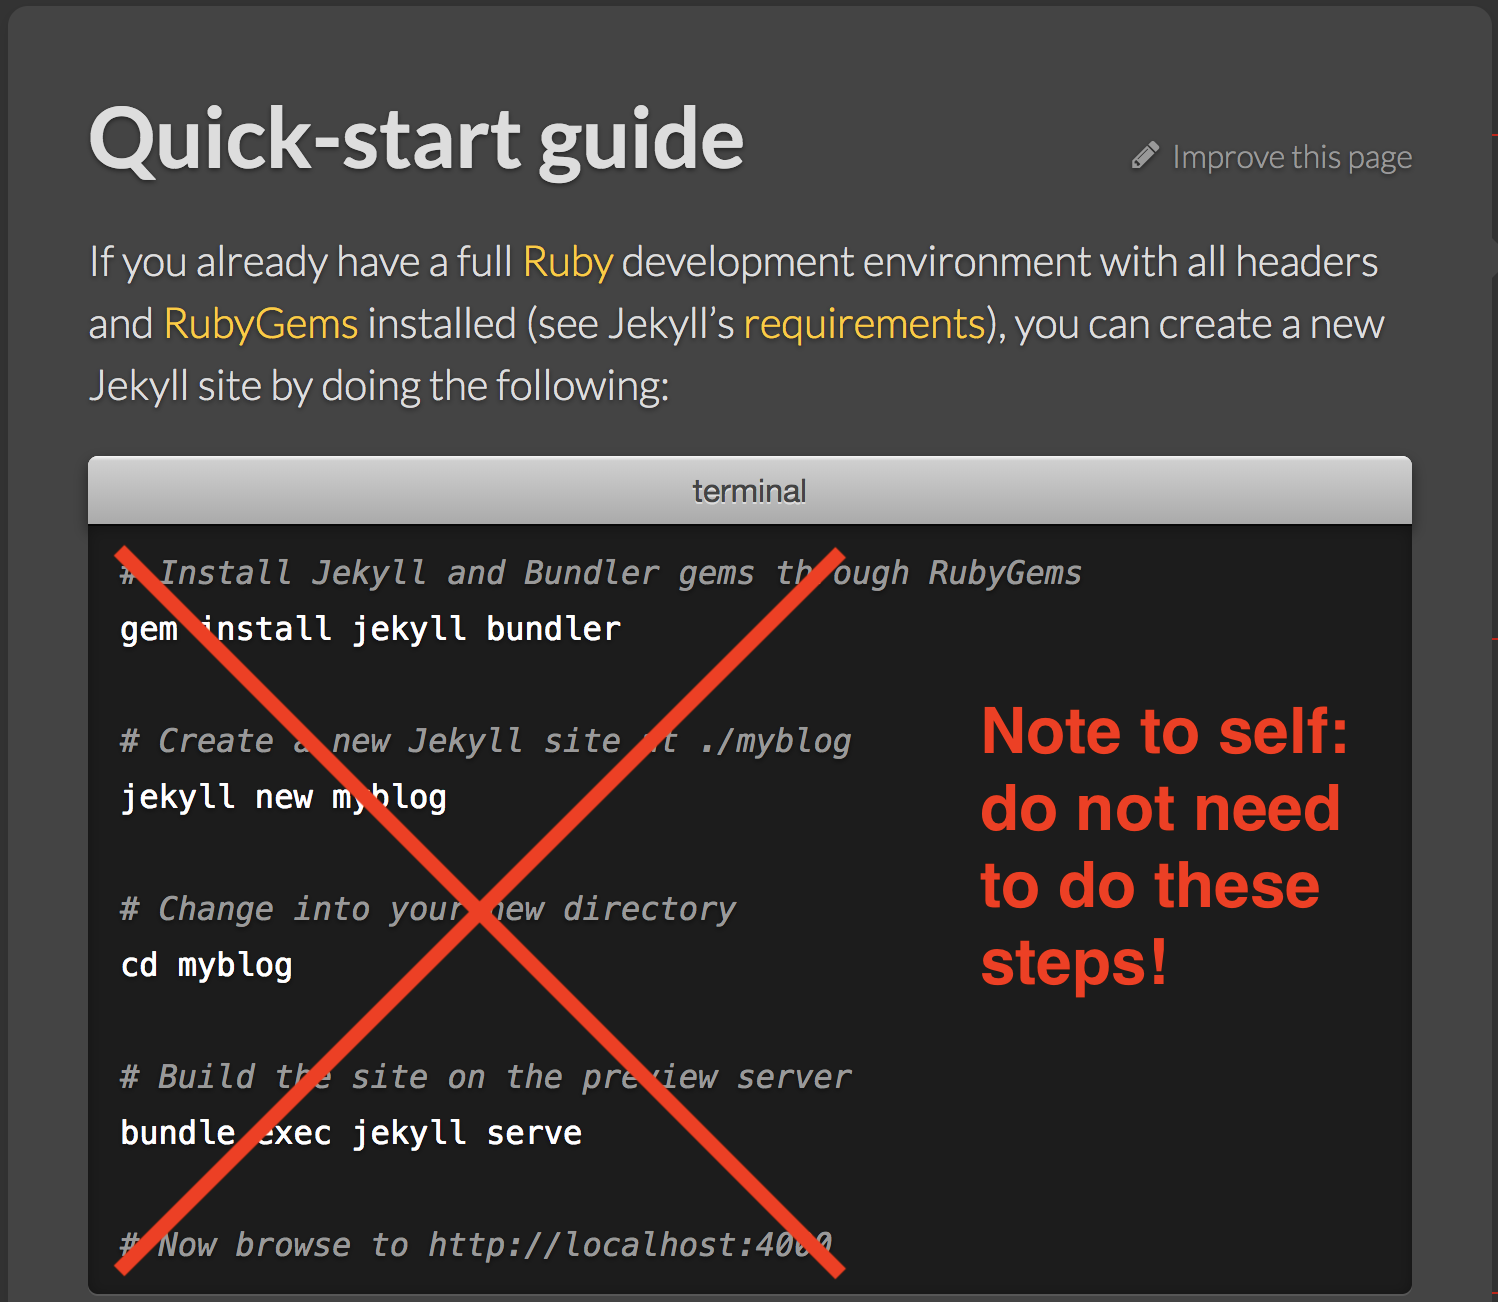
When I downloaded Jekyll I ignored any additions and initially made the mistake of doing all four steps from the quick-start guide not realising that this created a whole new template website for me. All I actually wanted was to use Jekyll to produce the files for my site with the markdown language all converted to HTML so I deleted the template site.
There are a couple of ways to create these files, both of which I tried. First, navigate to the folder containing my GitHub Pages files on my Mac then fire up a Jekyll server:
me$ Jekyll serve
This creates a ‘site’ folder within my website folder containing all the converted files. Starting up a local server in this way also allows me to view my site on http://localhost:4000/ to make any changes before putting it live.
As I didn’t actually need a Jekyll server for the purpose of transferring the site folder to my RP I could have done the second option:
me$ Jekyll build
This uses Jekyll to build the ‘site’ folder without the need to start up a server. Either way, a ‘site’ folder is created with all the files converted to HTML and CSS ready for me to transfer over to my RP.
Transferring my site to the Raspberry Pi
Initally I attempted to make a zip file of my site from the command line:
me$ zip ../site.xml *
However, the zip folder didn’t contain any files within folders, such as my image files within the images folder. For this reason I compressed the files manually in Finder.
To securely transfer files between my local host (my Mac) and a remote host (my RP) I used Secure copy protocol (SCP) which is based on SSH protocol (requires an SSH server).
SSH is pre-installed on the RP but needs to be enabled:
pi@raspberrypi:~ $ sudo systemctl enable ssh
Then to start SSH running:
pi@raspberrypi:~ $ sudo systemctl start ssh
Then used SCP on my Mac to transfer the ‘site.zip’ folder onto the Raspberry Pi:
me$ scp site.zip pi@raspberrypi:~
On inputting the correct password for the RP the folder was copied over. Then I was able to SSH into the Raspberry Pi to control it from the terminal on my Mac:
me$ ssh pi@raspberrypi
# Again it asks for a password.
I navigated to the directory containing the index.html file, created when Apache was downloaded, removed it and unzipped my new ‘site’ folder:
# first I changed the file extension to show it was a zip file:
pi@raspberrypi:~ $ mv site.xml site.zip

# to change directory on my RP:
pi@raspberrypi:~ $ cd /var/www/html/

# to remove the index.html file:
pi@raspberrypi:/var/www/html $ sudo rm index.html

# Then unzip the 'sites' folder transferred earlier making sure to use the path to the home directory (~/)
pi@raspberrypi:/var/www/html $ sudo unzip ~/site.zip
After checking that all my files were there, including the blogs and the images, I typed http://raspberrypi/ into my browser (you can also use the IP address for your Raspberry Pi) and there was my website - but no ramsey.jpg image!! After a little help and investigation I realised that the image was not showing up because the permissions of the image were set to make it available only as a read or write file for root.
# to see permissions of all files in directory
pi@raspberrypi:~/images $ ls -al

# to change the permissions so the file is available for user, group and global
pi@raspberrypi:/var/www/html/images $ sudo chmod +r ramsey.jpg

# output showing the file is now available:
(-rwxr--r-- 1 root root 326372 Mar  3 19:45 ramsey.jpg)
Interpreting this from right to left:
The ramsey.jpg was created at 7:45pm on March 3 and is 326372 bytes in size.
The right hand root shows it belongs to the group root and the left hand route shows it belongs to root in particular. This could be a particular user. It 1 file. Then the file permission symbols:
The dash - before the rw means that this is a normal file that contains any type of data. A directory, for example, would have a d instead of a dash.
Each permission, user, group and global is made up of three characters. The rwx are the permissions for the user. The rw means that root (the user who the file belongs to) can read and write to the file. The x means it is executable by the owner (root). The next r- - means the group has only read permissions and the final r- - shows the global permissions are also read only.
It worked, the image appeared and my site was up!
During this project I also installed Lynx - a text-based browser - to view my site. I found it useful to view the site like this as it shows why it is important to use the correct HTML tags ensuring that it renders properly when using a text based browser. This is good for accessibility issues, screen readers and so on - a very important consideration when building any kind of site. I will be exploring this more whilst building a new website for a client to ensure that it is accessible for anyone wishing to visit.
I closed the connection to my Raspberry Pi and started the challenge of writing it all up for my own learning but also with others who might be trying to do a similar thing. I really enjoyed playing around with my RP and found it hugely beneficial to solidify my knowledge by writing up about it afterwards. Once step closer to my world famous robot.